Chimney Pot Installation Tips
Installing chimney pots is quite easy and most installations require a few hours.
The tools you’ll typically need are simple:
Installation Supplies | Tools Required
| Ladder |
|
||
|
Trowel
|
|
|
|
| * Rain Guard | optional |
|
|
| Mortar |
|
|
|
| Wire Mesh |
|
|
|
| Silicon Caulk |
|
|
|
| Anchor Bolts | Hurricane Zone Areas |
|
|
|
*Scaffolding
|
High Roof Applications |
|
|
|
* Tree / Crane Truck
|
High Roof Applications
|
Heavy Pots
|
|
1. Attach Wire Mesh (Optional)
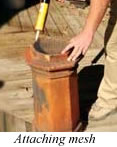
Prior to bringing the chimney pot to the roof, you may wish to cut wire mesh to the size of the chimney pot’s top opening and secure with silicone caulk. This will prevent leaves and animals from entering the flue
|
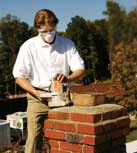
2. Remove Excess Flue Tile Remove any flue tile that extends above the top of the chimney using a circular saw and masonry blade. This will ensure that, after installation, water will not be come trapped in the space between the tile and the chimney pot, where it could freeze and cause damage
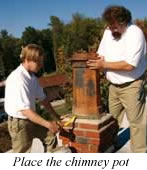
3. Place the Chimney Pot in Mortar Once the flue tile is level with the chimney top, lay three inches of mortar around the flue. Place the chimney pot into the mortar and push it down to ensure a good hold.
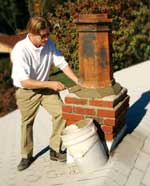
4. Taper the Mortar
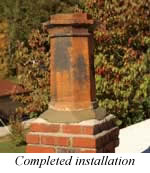
5. Maintenance Once installed, the mortar holding the chimney pot should be inspected for cracks at least every 10 years, but preferably whenever the chimney is swept. Chimney pots themselves rarely break.
|
